Perfect World Mobile Hidden Quest – Celestial Vale has four(4) hidden quest.
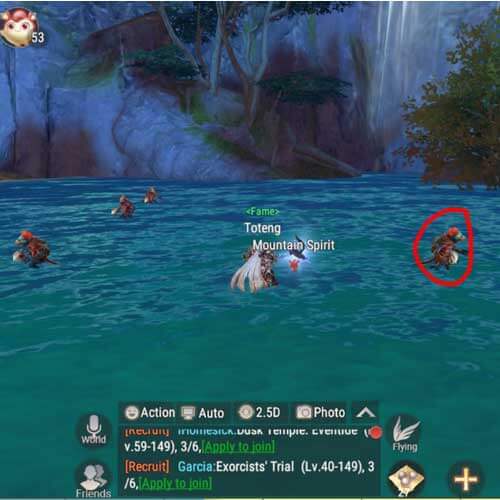
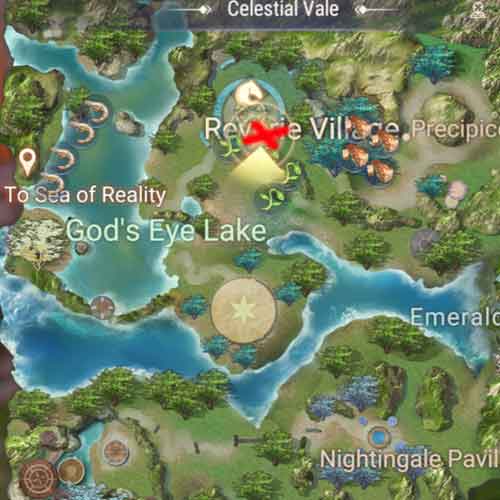
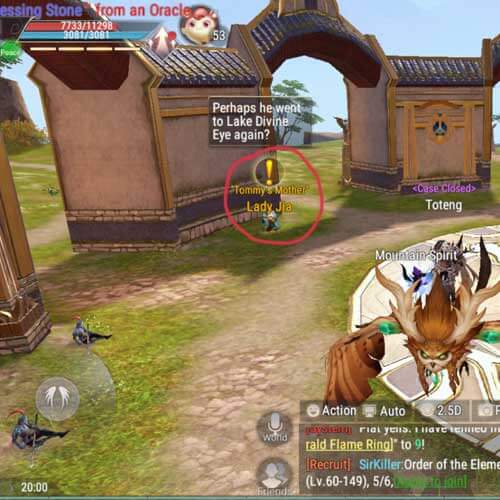
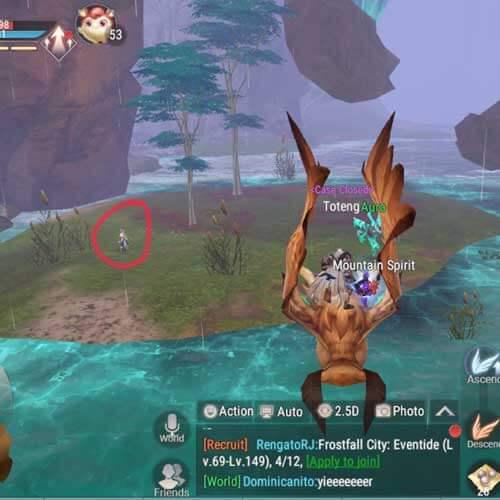
Hidden quests are fun! We strongly recommend just getting the NPC location here and do the quest without a guide. If you get stuck with no auto-pathfinding, you can always come back here for help.
Celestial Vale
Starchaser I
- Quest Chain:
- Starchaser I
- Starchaser II
- Starchaser III
- Starchaser IV
- Wish Granted
- Reward: Animated Emoticon: Cheering Dance
- Celestial Vale [ x215, y297, z239 ]
![MAP: Celestial Vale - Starstruck Elf](https://www.caskispace.com/wp-content/uploads/2020/01/map-celestialvale-starstruckelf.jpg)
- Starstruck Elf
![NPC: Celestial Vale - Starstruck Elf](https://www.caskispace.com/wp-content/uploads/2020/01/npc-celestialvale-starstruck_elf.jpg)
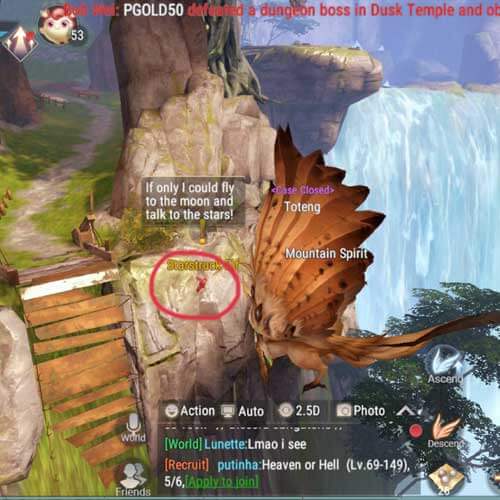
Starchaser I-IV – auto-pathfinding will be off once you get to the location. Stay where you are and wait for the star to pass near you. When it does, tap the auto-pathfinding repeatedly to speak to it. Do not chase it.
Letter from Florence
- Quest Chain:
- Letter from Florence
- Blue Monkey King
- Gold Gourd
- Battle the Blue Monkey King
- Fake and Real
- Report to the Guardian Angel
- Trigger: Go to the location and kill some Drunk Monkeys
- Reward: Monkey Shard ( collect 2 to combine Mischievous Monkey )
- Celestial Vale [ x399, y300, z162 ]
![MAP: Celestial Vale - Drunk Monkey](https://www.caskispace.com/wp-content/uploads/2020/01/map-celestialvale-drunkmonkey.jpg)
- Drunk Monkey
![MONSTER: Celestial Vale - Drunk Monkey](https://www.caskispace.com/wp-content/uploads/2020/01/monster-celestialvale-drunkmonkey.jpg)
Fake and Real: Just click all the illusions till you find the right one.
Vicious Brute
- Quest Chain:
- Vicious Brute
- Salty! / Sweet!
- Reward: Title: Love Actually (same reward for Salty & Sweet)
- Celestial Vale [ x164, y174, z96 ]
![MAP: Celestial Vale - Drunk Monkey](https://www.caskispace.com/wp-content/uploads/2020/01/map-celestialvale-drunkmonkey.jpg)
- Gregor
![MONSTER: Celestial Vale - Drunk Monkey](https://www.caskispace.com/wp-content/uploads/2020/01/monster-celestialvale-drunkmonkey.jpg)
No further help needed. Auto-pathfinding is on all the way.
Where's Tommy
- Quest Chain:
- Where's Tommy
- Search for Tommy
- Simon Says I
- Simon Says II
- Simon Says III
- Simon Says IV
- Simon Says V
- Trigger: NPC Lady Jia only appears between 5am-5pm
- Reward: Sacred Book Page ( collect 6 to combine 1 random Sacred Book)
- Celestial Vale [ x183, y273, z295 ]
![MAP: Celestial Vale - Lady Jia](https://www.caskispace.com/wp-content/uploads/2020/01/Celestial-Valley-first.jpg)
- Lady Jia
![NPC: Celestial Vale - Lady Jia](https://www.caskispace.com/wp-content/uploads/2020/01/npc-celestialvale-ladyjia.jpg)
Where’s Tommy – Auto-pathfinding will be off. Find NPC Tommy in the location below.
![MAP: Celestial Vale - Tommy](https://www.caskispace.com/wp-content/uploads/2020/01/Celestial-Valley.jpg)
![NPC: Celestial Vale - Tommy](https://www.caskispace.com/wp-content/uploads/2020/01/npc-celestialvale-tommy.jpg)
Simon Says I-V – Perform a series of Action: Sad, Happy, Clap, Meditate, Dance.
Treasure Trace
- Quest Chain:
- Treasure Trace
- Heaven Place I
- Heaven Place II
- Heaven Place III
- Enter the Array
- Array Escape
- Trigger: Just talk to her if you see her.
- Reward: R1 Engrave Chest
- Celestial Vale [ x274, y356, z72 ]
![Celestial-Vale-Treasure-Trace MAP: Celestial Vale - Treasure Trace](https://www.caskispace.com/wp-content/uploads/elementor/thumbs/MAP-Celestial-Vale-Treasure-Trace-ous6m79cwabl6ota1byxg8izhrvtgapzvu89y1vloo.jpg)
- Lola
![celestial-vale-lola NPC: Celestial Vale - Lola](https://www.caskispace.com/wp-content/uploads/elementor/thumbs/NPC-Celestial-Vale-Lola-ous6o5r94v03dfyvlofy58qk1o8chlhv5j5oxsz2q0.jpg)
![Celestial-Vale-Heaven’s-Palace MAP: Celestial Vale - Heaven's Palace](https://www.caskispace.com/wp-content/uploads/elementor/thumbs/MAP-Celestial-Vale-Heavens-Palace-ous99mtgrqylxg6xs30c3nkqp3idy0kxc6nz0ednyg.jpg)
![MAP–Celestial-Vale–Platforms MAP: Celestial Vale Platforms](https://www.caskispace.com/wp-content/uploads/elementor/thumbs/MAP-Celestial-Vale-Platforms-ous9c51yzue4w0jv560ir0szq35mgyj5olal2ynvd4.jpg)
- Heaven’s Palace-I – Get near the pink tree.
- Heaven’s Palace-II – Stand at Heaven Palace Terrace.
- Heaven’s Palace-III – Get near the Scarlet Eye.
- Enter the Array – Jump on the platforms that have a blue aura on them and just follow the path to the treasure.
- Enter the Array – Just answer the right choice.
- Array Escape – Just go back to the beginning where Lola is then auto-path all the way.
For those who prefer to watch how hidden quests are done, here are some videos: